Creating Groups
Creating groups and assigning users to those groups greatly increases the analytic and reporting functionality of SimpleKPI.
An example of common types of groups could include teams, departments or offices. However the flexibility with the groups feature means you can create as many different groups as you need.
Groups and KPIs explained
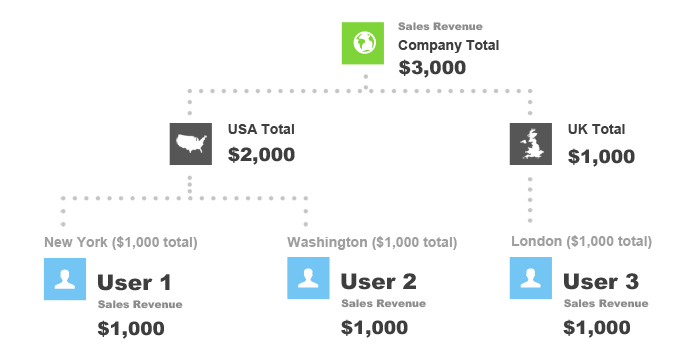
As KPIs are assigned to users and users to groups it allows you to view the performance of those KPIs grouped together. For example if you had a Sales Revenue KPI assigned to 3 Users who were based in different offices in different countries you could see a reports, analytics views or dashboard charts showing the following:
- The Sales Revenue performance total for the company
- Comparison of Sales Revenue performance for each office
- Additional Structure types
To set-up groups in your SimpleKPI account:
- Click on the manage my drop-down and select Users
- Click on the user groups button in the left hand menu
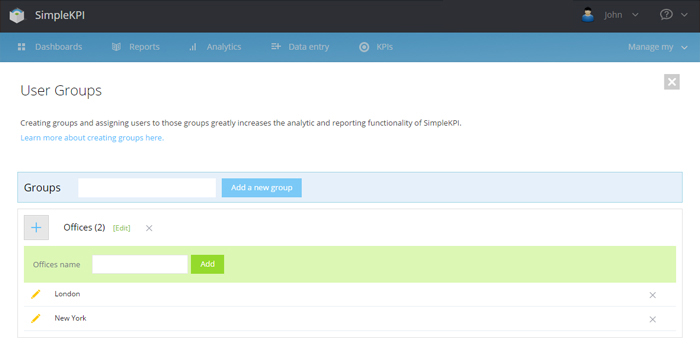
The system comes already pre-loaded with an example group you can either edit the group and group items or delete these and start again.
- To create a new group enter the group name such as offices in the blue header field
- Click add a new group
- Your new group will appear in the groups list. To add group items click the plus icon and enter a new group item such as London then click the ADD button
- To add more group items simply enter a new group item and click the ADD button
Adding users to groups
Once you have created all your groups and items you can add your users to those groups.
- To add user to groups click on the Users list button from the left hand menu.
- Click the orange edit icon next to the user you wish to assign to your groups
- From the user detail screen select the group item from the drop-down menu.
- Click save to update your details
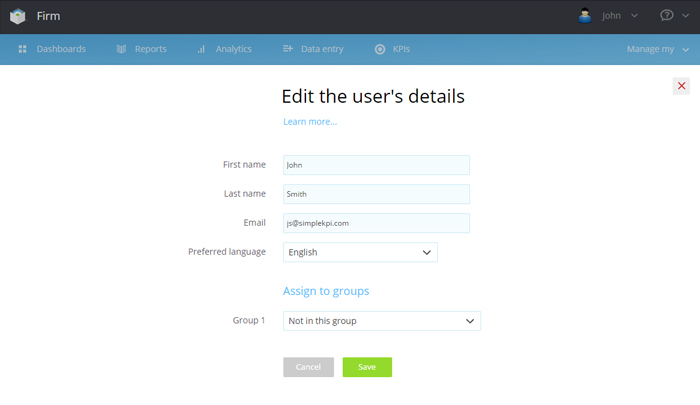
You can assign a user to more than one group but not more than one group item.