Back Getting Started
- Setting up your account
- Account Settings
- Importing KPIs
- Importing Data
- Data Integration
- Creating Groups
- Using the date control
- Customizing your account
- Using Zapier to import your data
Using the Date Control
The date controls throughout SimpleKPI come pre-loaded with a variety of commonly used date periods. The control also allows custom date periods to be created.
Common Date Periods
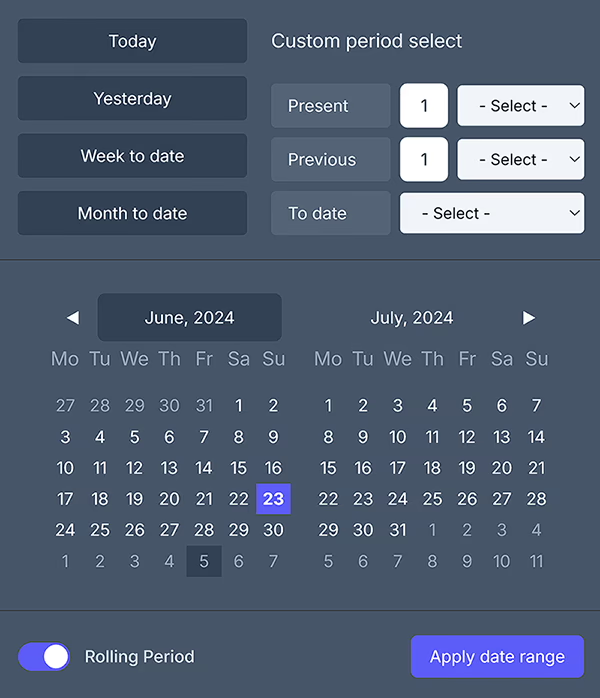
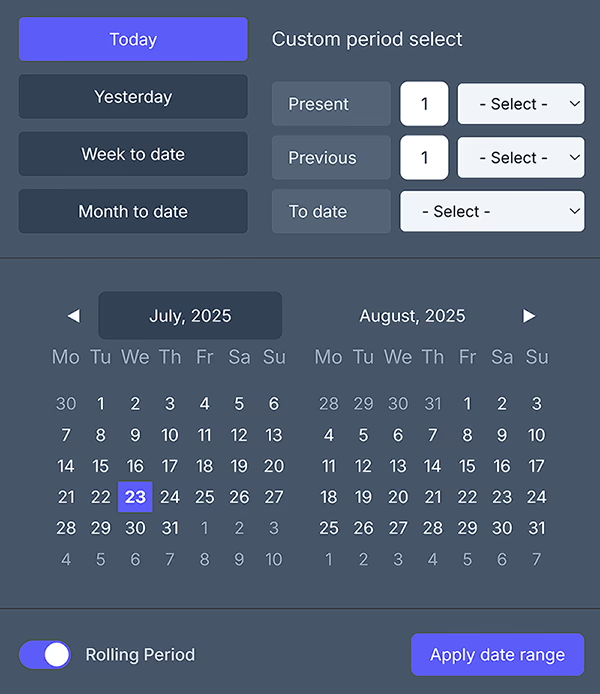
To use the common date periods, select the date control. There are 4 common date periods to select from:
- Today
- Yesterday
- Month to date
- Year to date

- Select one of these options and click 'Apply date range'
Using the Calendar
You can choose an individual date period or a date range by using the Calendar control.

- To select an individual date, click on the calendar date. You can use the arrows to scroll through the months or by clicking on the month name you can change the month and year.
- Click on an individual date and click 'Apply date range'.
- To select between two different dates, click the start date from the top calendar and the end date from the bottom calendar.
- Once you have selected your date period, the calendar will highlight the period in blue.
- Click 'Apply date range' to set the date.
Custom Date Periods
You can choose from three types of custom date periods:
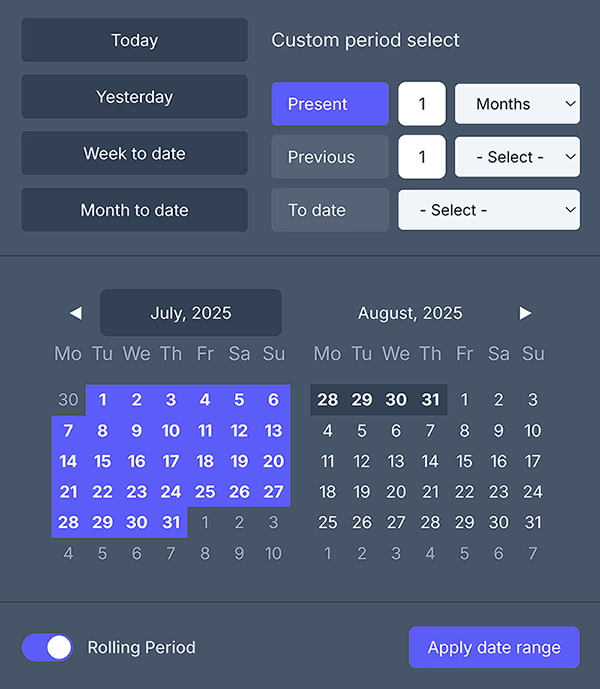
- Present: All frequencies up to and including the period you are in.
- Previous: All frequencies not including the period you are in. For example, previous 4 months would not include the current calendar month.
- To date: All frequencies only including the period selected. For example, week to date would only include data for this week up to today's date.

To create a custom date period:
- Enter the number of periods you wish to include in your date range.
- Click the select drop-down and choose from either days, weeks, months, quarters or years.
- The date range will now appear in the calendar on the right.
- Click 'Apply date range' to set the date range.
Rolling Period
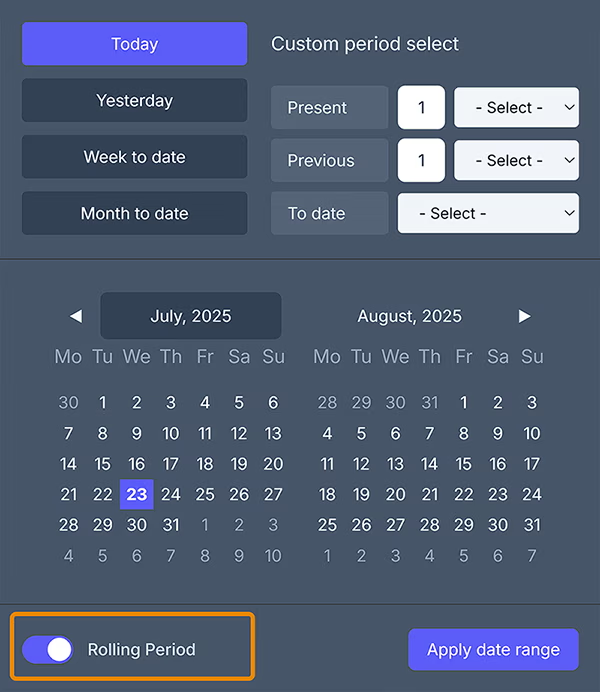
By default, all date ranges selected are set to 'Rolling'. This means that any period you select is automatically updated to reflect the current date.

You can choose to set a static date range by selecting 'No' as the rolling period.